Painting with Light (2)
Continued from here.
In 2006, I joined Fotoholics which is a photography club in Melbourne University. Over time my knowledge and experience grew, and I began to appreciate that the "photo" in photography doesn't just begin and end with a photo's brightness. The quantity of light obviously matters in a picture, otherwise you would be looking at a black canvas. However, at the end of the day, it is the quality of the light that delivers a far greater impact on the audience.
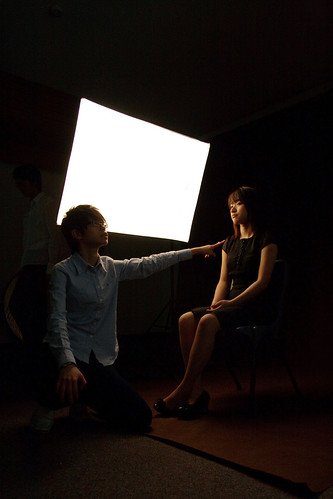
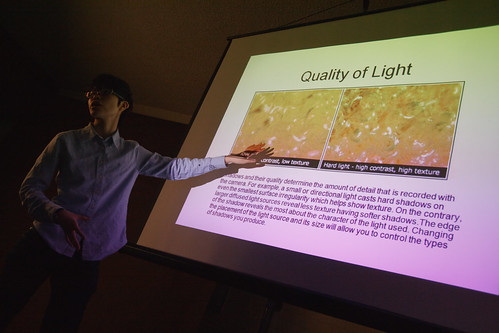
Through activities like workshops and outings, I learned a lot about the quality of light. Here we have the Fotoholics adviser Shayen demonstrating lighting in a studio workshop. Have you ever wondered why studios use so many huge light boxes for their models? No, it's not because they need lots of light, though these equipments could indeed be very bright. The answer simply lies within the quality of the light we could achieve with them. A big light source like the one we see here is used to achieve a soft, glowing quality as it avoids the casting of harsh shadow.
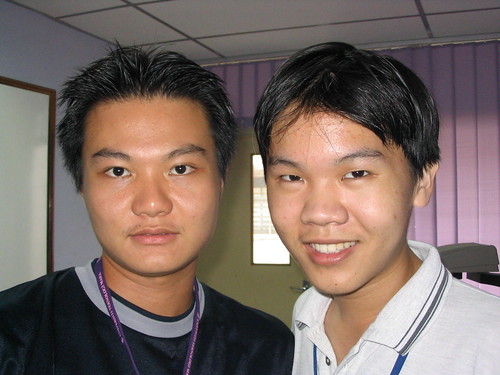
It's a difference between this...
")
and this.
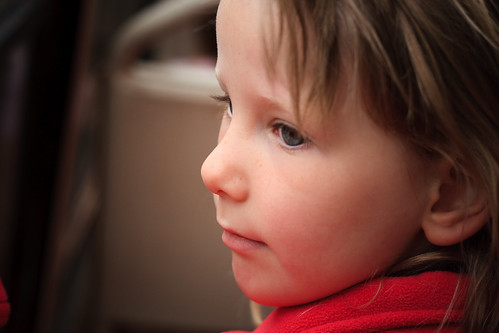
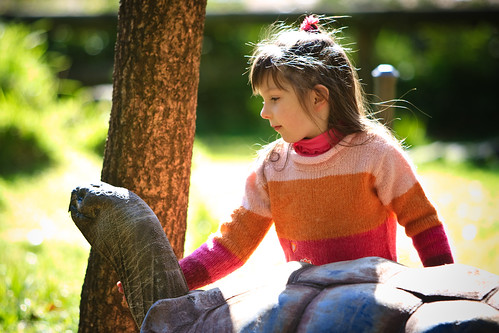
We don't really have to splash thousands of dollars to get studio equipments to get nice looking lighting. For example, this shot was captured in a safari bus without any special equipment. The safari bus was trekking through a rather boring part of the safari so I didn't pay much attention outside. I happened to notice that the light from outside the window fell on this girl evenly, so I turned my camera towards her and snapped while she was looking sideway. By using window light alone I got myself studio-worthy lighting.
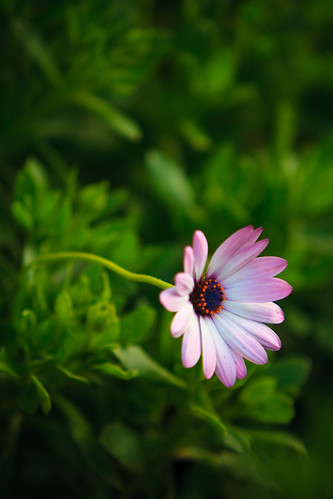
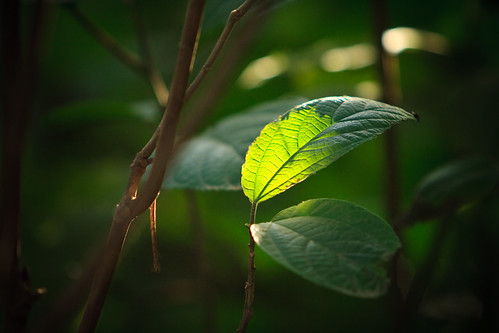
The same principle applies when shooting things like flower. I used to shoot things under direct sunlight thinking that it would be "bright" enough, but the pictures shot this way all turned out to be rather uninspiring as the harsh direct light produces a lot of distracting shadows. So I learned to shoot in the shade - yes it might be darker and you might have to use higher sensitivity setting (ISO) or use a tripod, but the result would also be much nicer. The reason is that in the shade, all the lights are coming from all directions instead of just one spot in the sky, so the light would have a soft quality to it.
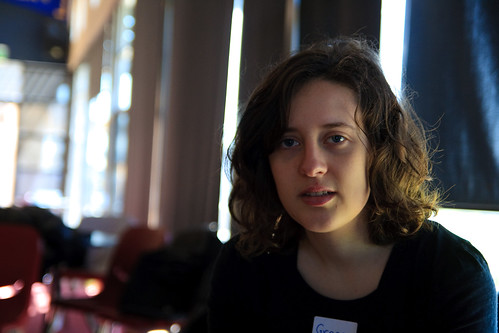
Using a camera on its automatic setting is fine in many cases, but in some cases the camera would get it wrong. Here Grace is sitting in a hall with lots of light filtering through the window panes behind her. The camera incorrectly interprets the scene as being too bright, so it tries to darken the picture. However, by doing so Grace's face now turned out quite dark as it is not as bright as the windows to begin with. It's Grace's face I am interested in, not the window panes, so the auto mode gave me a crappy picture.
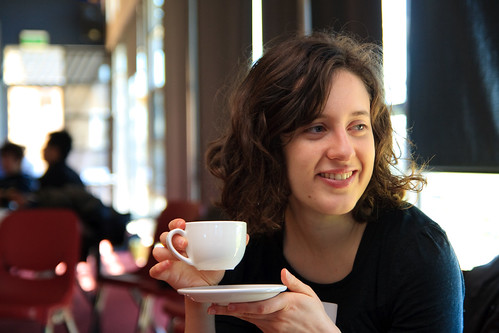
To fix the problem, I added some flash to the picture so that Grace's face lights up a bit. This, together with the coffee, makes her happy and shiny. Note that in this picture, Grace's face also has a soft quality to it, that is because instead of pointing my flash directly at her, I pointed the flash at the ceiling and let it reflect back towards her. This technique, called "bounce flash" in photography jargon, makes flash light softer and is one of the most commonly used techniques in flash photography.
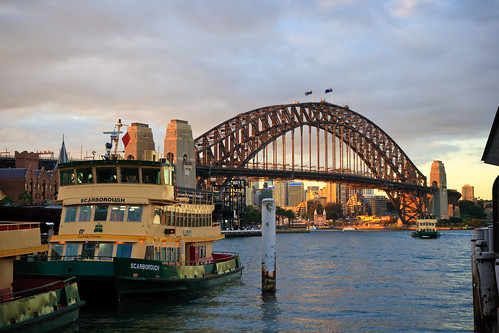
Nature is the best painter, but it is quite an unpredictable one at that. I was strolling along the Circular Quay, breathing in the fresh air of the late afternoon when I saw the Sydney Harbour Bridge glow under the golden sunlight. This picture was straight out of the camera and it had a fantastic colour to it. However, I was a bit unhappy with the little pole smack in the middle of the picture, so I walked around it...
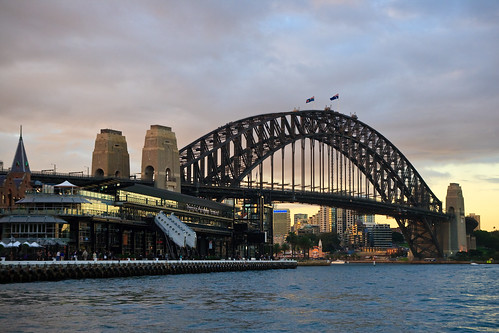
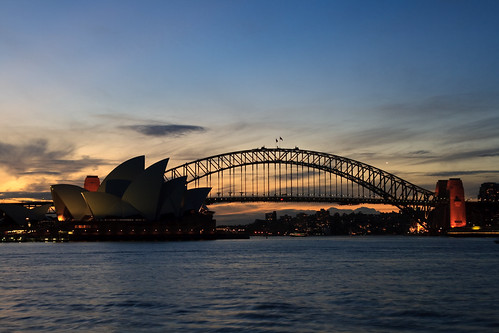
... and took this shot merely 3 minutes later. The sky was still a very pretty violet, but the golden sunlight was gone. You can see here just how important it is to be at the right place at the right time, and more importantly, to be able to recognise wonderful light which is all too often very ephemeral.

Photographers often talk about the golden hours of the day, i.e. the few hours around sunrise and sunset. In these hours not only nature showers us with a whole gamut of glorious colours, it also delivers them in a soft, diffused and glowing way. I once read somewhere that an editor in a renowned landscape photography magazine has a policy of only accepting pictures taken during golden hours.
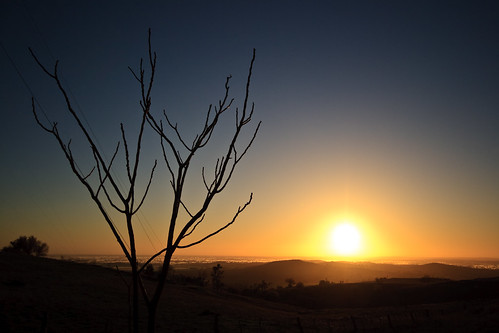
The landscape exudes an incredible aura during the golden hours. The next time you come across a wonderful landscape photograph, pay some attention to the time it is captured. More often than not they would be shot during sunrise or sunset, or even during dawn or dusk. That editor may have a point after all.
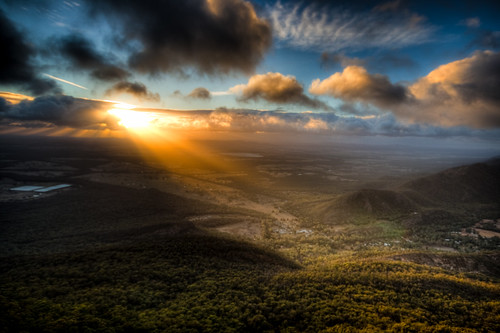
This picture was taken in Grampians National Park which is about 4 hours away from Melbourne. The difficult thing about chasing the golden hour is that you either have to wake up at ungodly hours, or continue shooting late in the day when everyone else would have had enough for the day and had started thinking about dinner. For this picture, I woke up at 5 so that I could be there just when the sun was rising. I got lucky, the sun shone through a gap between the clouds and gave me this surreal scene.
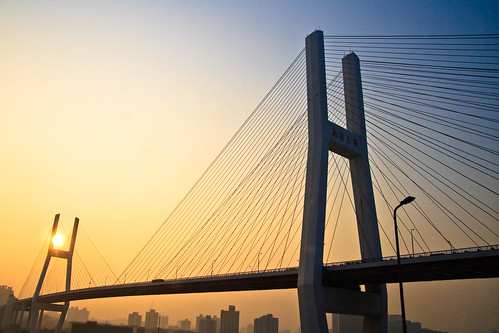
Of course the golden hour is not limited to landscape alone. It worked equally well in this cityscape of Shanghai.
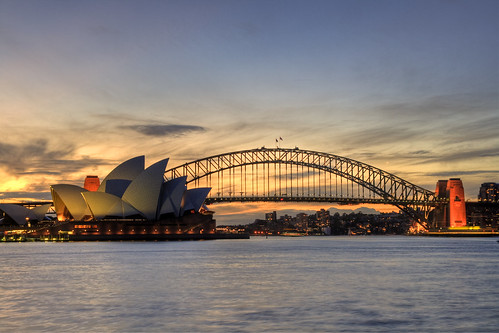
You may not know that our eyes are actually much better at perceiving light in most regards compared to even the best camera in the world. This is your standard postcard picture of the two most iconic structures of Sydney, taken from the best vantage point during the best time of the day. But I cheated here. This is actually not just one picture. What you are seeing is actually a combination of three pictures.
1. This is what you would get if you just shoot it without changing any setting on your camera. Note that the Opera House is a bit dim here.
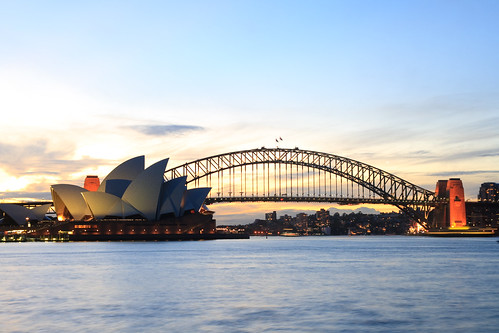
2. This is what you get when you take the picture of the same scene, but exposing for longer to get a brighter version. Notice how the Opera House is now bright, but the sky is so bright that you can't even see the details of the clouds anymore.

3. Lastly this is the dark version of the same picture, and it allows us to see the detail of the sky.
The three pictures of the same scene with different brightness are then combined to give us the final picture. The final picture is the most similar to what you would see with naked eyes, however due to the camera's limitation of the range of brightness it could capture, if you only took one shot you would not be able to get the same result. The technique of combining pictures of different brightness is called "High Dynamic Resolution" (HDR). The Grampians shot above was done with HDR too.
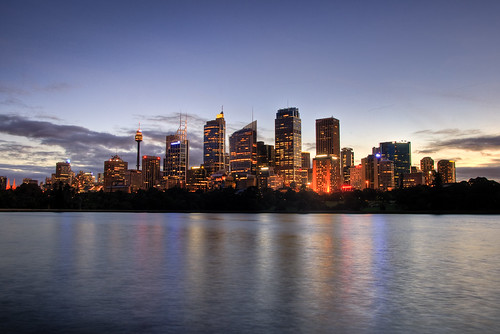
Another HDR shot: Sydney skyline.
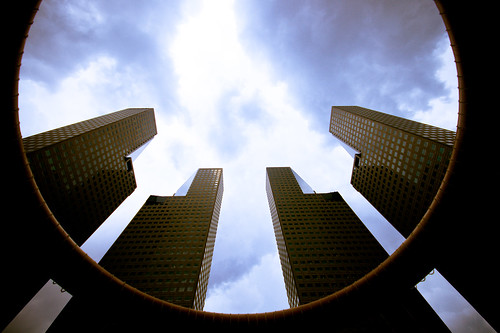
I am still in the process of appreciating the quality of light. Be it contrasty light,
straight-from-above light,
selective illumination

or bright background light ("high key"), it's the way we paint the picture with light that counts the most in the final outcome.
And I will keep on enjoying light-painting for years to come.


7 comments:
Post a Comment